As an Amazon Associate we earn from qualifying purchases. This post contains affiliate links, and we may earn a commission at no extra cost to you.
Selecting the Perfect LED Whip
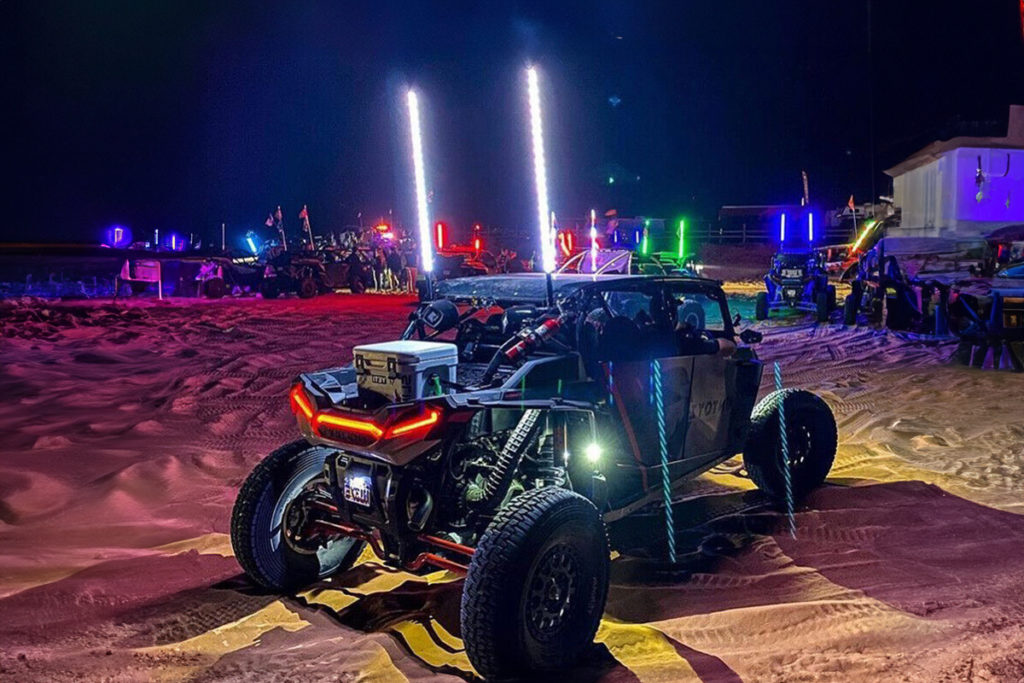
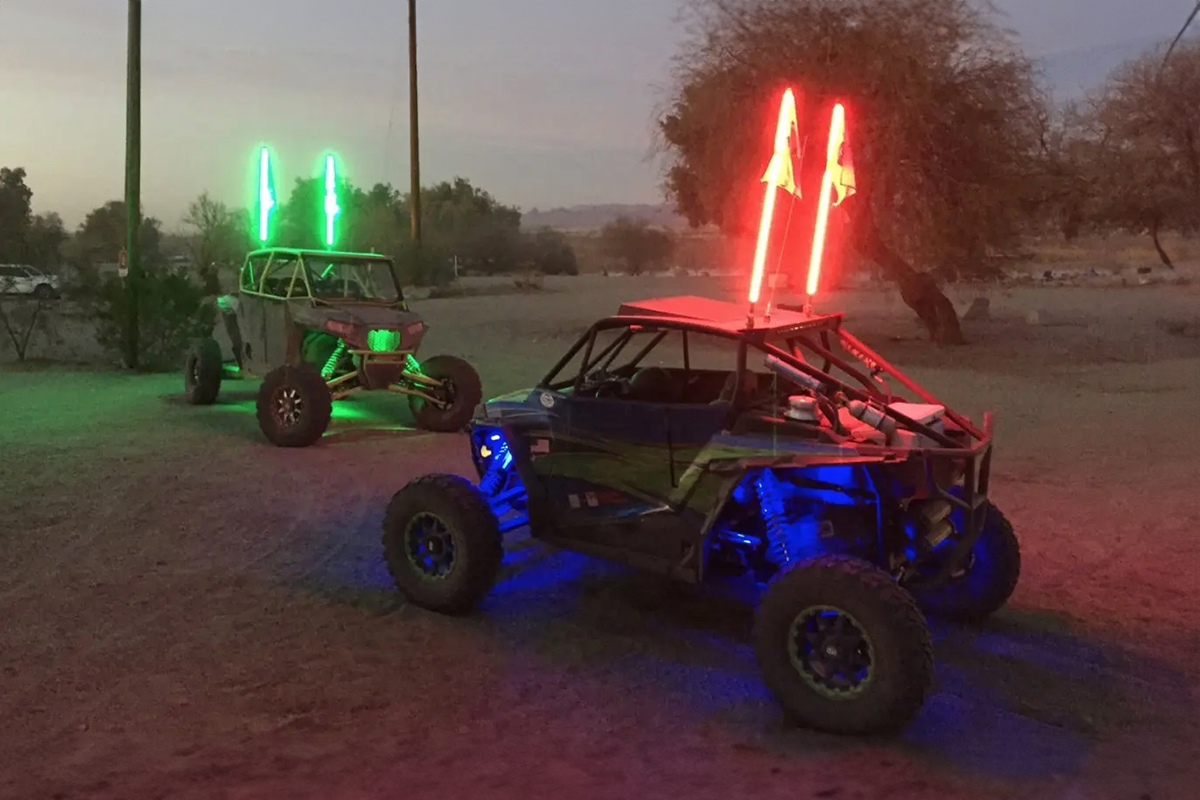
LED whips are preferred for their energy efficiency and brightness. They’re available in various lengths, and some even offer customizable color patterns. When choosing an LED whip, consider the compatibility with your vehicle, the brightness level, and any additional features like remote control or weather resistance. See our guide here to help you select the right LED whip light.
Preparing for Wiring
Wiring is the heart of the installation process. You’ll need some basic tools like wire cutters, pliers, electrical tape, and possibly some zip ties to keep everything neat. Here’s a step-by-step guide to wiring your LED whip light:
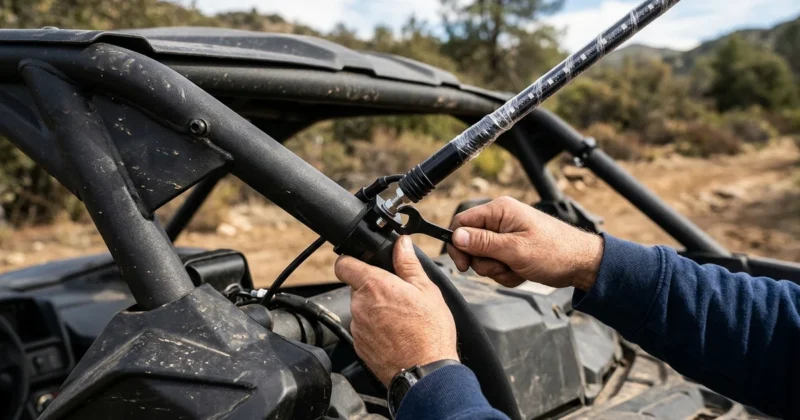
- Identify the Power Source: Locate the wire to the battery or an existing wiring harness to tap into for power. You’ll connect the red wire from the whip to the positive terminal and the black wire to the ground.
- Measure and Cut: Use a tape measure to estimate the length of wire needed to reach from the whip’s location to the power source. Cut the wires to length, leaving a little extra just in case.
- Strip and Connect: Use wire strippers to expose the underlying copper wire at the end of each wire. Connect the wires using connectors or by splicing them together. Make sure the wire connections are secure.
- Secure the Wiring: Run the wire along the frame, using zip ties to secure it in place. Hide the wires underneath panels or along existing wiring paths to keep everything looking clean.
- Test the Connection: Before finalizing everything, turn on the whip light to make sure everything is working correctly. Check inside the cab to make sure all connections are intact.
- Are you using a rocker switch? Then you will need to splice into the red power wire and run a line to the rocker switch. That’s pretty simple but if the rocker switch is lighted you will need to supply power to the switch as well. Check the wiring guide for your particular switch.
Mounting the LED Whip Light
Now that the wiring is done, it’s time to mount the whip light. Here’s how:
- Choose the Location: Find a suitable place to install a whip, such as the roll cage or another exposed bar on the frame. The location should be sturdy and visible.
- Drill a Hole: Depending on your mounting bracket, you may need to drill a hole for the mounting bolt. Make sure the hole is the right size for the bolt.
- Attach the Base: Place the whip light base on top of the hole, insert the bolt, and tighten it down. Slide the whip light base onto the mounting bracket if necessary.
- Connect the Whip: Get the whip and attach it to the whip to the base, usually by turning it clockwise. Depending on the whip some models may have a quick connector for easy attachment and removal.
- Secure Additional Wiring: If there’s additional wiring for remote control or other features, connect those according to the instructions.
FAQs
Where is the best place to mount whip lights on a UTV?
The best place to mount lights on a UTV depends on the specific needs and preferences of the rider, as well as the type of lights being used. Generally, whip lights are …(read more)
What company makes whips?
Several companies specialize in manufacturing whips, particularly LED whips for UTVs, ATVs, and other off-road vehicles. Some of the well-known brands in this industry include …(read more)
Ready to add a set? Here’s a solid pair of whips with remote-controlled color patterns.
Our Pick

Xprite 5FT 2PCS Spiral RGB LED Whip Light with Bracket Base Chasing Lights RF Remote Control & Rocker Switch Lighted Antenna Whips for Can-Am ATV UTV RZR Polaris Dune Buggy Offroad Truck
- 【Premium Product Quality】Upgraded quick connect and release base for easy removal and stay fixed to prevent it
- 【APP & Remote Control】Bluetooth APP and RF remote with a hook by dual control, prevent remote control from bei
- 【DIY Your Own Creative Modes 】DIY your own lighting effects by self-defining modes, colors, motion directions,
Leave a Reply
You must be logged in to post a comment.