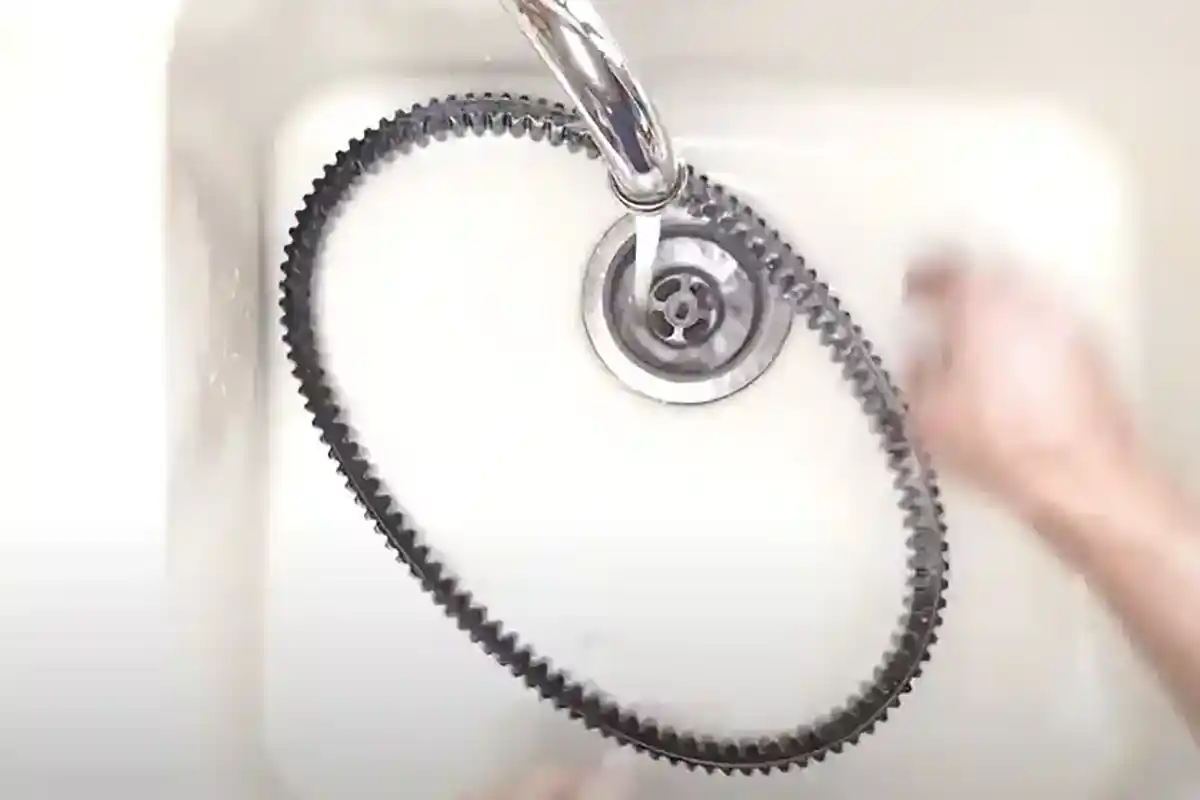
Are you an avid UTV enthusiast who wants to ensure that your ride performs at its best but you wonder Should You Wash A Polaris CVT Belt? As a UTV owner, it’s essential to understand the importance of regular maintenance and cleaning, especially when it comes to the CVT drive belt. We dive into the essential task of cleaning the CVT drive belt to optimize performance and prolong its lifespan.
Why Cleaning Your UTV’s CVT Drive Belt Matters
The CVT drive belt plays a critical role in transferring power from the engine to the wheels of your UTV, enabling it to conquer various terrains. Over time, however, dirt, dust, and debris can accumulate between the layers of the drive belt, leading to decreased performance and potential belt failure. To avoid such issues, regular cleaning is necessary to maintain your UTV’s performance and prevent premature wear.

Step-by-Step Guide to Cleaning Your UTV’s CVT Drive Belt
Step 1: Gather the Required Tools to clean your UTV drive belt
Before getting started, make sure you have the necessary tools at hand. You’ll need a soft-bristle brush, a cleaning solution specifically designed for CVT belts, and a clean cloth. These tools will aid in effectively removing dirt and debris without causing any damage to the belt.
Step 2: Remove the CVT Drive Belt Cover
Begin by locating the CVT drive belt cover, usually situated near the engine compartment. Carefully remove the cover, ensuring not to misplace any screws or fasteners. This cover acts as a protective shield, guarding the belt against debris and contaminants.

Step 3: Brush Off Loose Dirt and Debris
With the CVT drive belt exposed, take the soft-bristle brush and gently brush off any loose dirt and debris from the surface of the belt. Ensure that you cover all areas of the belt, paying close attention to the crevices where debris tends to accumulate.
Step 4: Apply the Cleaning Solution
Next, it’s time to apply the CVT drive belt cleaner to the belt. Use the cleaning solution as directed, spraying it evenly and thoroughly across the entire belt. This step helps dissolve and loosen stubborn dirt and grime, preparing the belt for thorough cleaning.
Step 5: Wipe Away Residue
Take a clean cloth and gently wipe the drive belt to remove any remaining dirt or residue. Exercise caution not to apply excessive pressure or scrub too harshly, as this could potentially damage the belt. Ensure you wipe all sections of the belt until it appears clean and free from residue.
Step 6: Visual Inspection for Wear or Damage to your CVT belt
Once you are satisfied with the cleanliness of the drive belt, visually inspect it for any signs of wear or damage. Look out for cracks, fraying, or other visible issues that might indicate the need for a belt replacement. Addressing such problems promptly can prevent more extensive damage in the future.

Step 7: Reinstall the CVT Drive Belt Cover
Finally, carefully reinstall the CVT drive belt cover, ensuring it is securely in place. This cover serves as a protective barrier, shielding the belt from external contaminants and extending its overall lifespan. Take your time to fasten all the screws or fasteners correctly to maintain a tight and secure fit.
Maintain Performance and Prolong Lifespan
Regularly cleaning your UTV’s CVT drive belt is a crucial maintenance task that should not be overlooked. By following the step-by-step process outlined in this guide, you can effectively remove dirt, dust, and debris from the belt, ensuring optimal performance and longevity.
Remember, a clean CVT drive belt translates to improved power transfer and enhanced UTV performance. It reduces the risk of belt failure and extends the lifespan of this critical component. Incorporate this cleaning routine into your UTV maintenance schedule to keep your ride running smoothly and conquer any terrain with ease.
Determining the Direction of Your RZR Belt
New belts don’t give a damn about direction, but used ones sure do. Directional arrows on some belts are just …(read more)
The Costs of Changing a RZR Belt
When it omes to changing a belt on your side by side cost can be a major factor. We have found that…(read more)

