Why do X3 belts break? The primary reason X3 belts break is excessive heat.
Buy the right belt with our buying guide on finding your Can-Am X3 belt
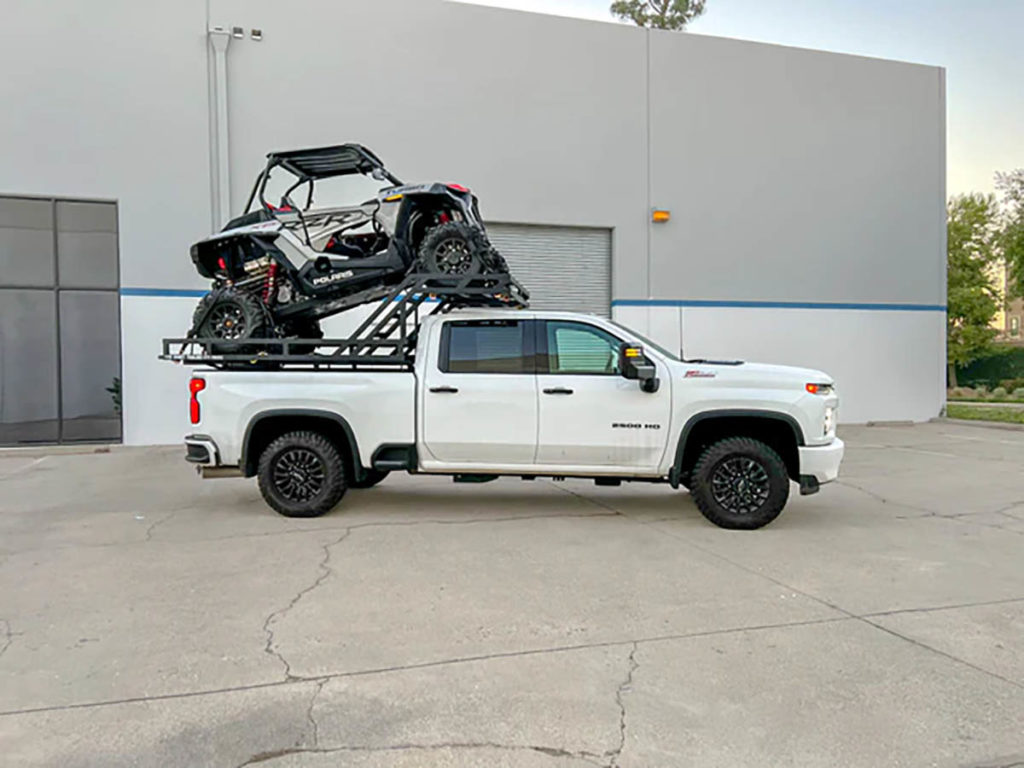
It’s a question that haunts many a side-by-side enthusiast. The Can-Am X3 is a fine machine, built for speed and adventure, but it seems that no matter how well you treat it, the belt just won’t keep up. So what gives?
Well, let’s start with the basics. The X3 drive belt, also known as a CVT belt, is a crucial component of the machine’s clutch system. It transfers power from the engine to the transmission, and if it fails, you’re stuck on the trail. It’s a part that sees a lot of stress, especially in high-speed situations, so it’s no surprise that it can wear out over time.

But why does it wear out so quickly? There are a few factors at play. First and foremost, the clutch itself can put a lot of strain on the belt. The primary clutch, which is connected to the engine, grips the belt and spins it around. The secondary clutch, on the other end of the belt, controls the speed of the machine. When you’re going fast, the belt is working hard to keep up, and it can get worn down quickly.
Another factor is heat. When the belt gets too hot, it can start to glaze over, which means the surface becomes smooth and glassy. This reduces the belt’s width and can lead to slippage, which puts even more stress on the clutch system. To keep the belt cool, it’s important to make sure there’s plenty of airflow around the clutch. Some models have built-in vents, but if yours doesn’t, you may want to consider adding some.
Finally, it’s worth noting that not all belts are created equal. A new belt may be more resistant to failure than an old one that’s been through a lot of abuse. If you’re experiencing frequent belt failure, it may be time to invest in a higher-quality belt that can stand up to the rigors of high-speed riding.
The Best CanAm Belts
GBoost Worlds Best Belt
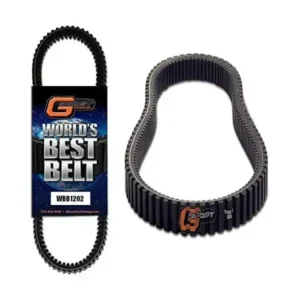
GBoost Worlds Best Belt
- Highest shock load rating
- Latest bottom cog design
- Aramid Fiber cord
$178 at time of publishing
The GBOOST Race Belt is a game-changer. Designed to replace the OEM belt, this belt is built to withstand the demands of extreme racing and intense side-by-side adventures.
Looking for a performance upgrade for your Can-Am? The GBoost World’s Best Belt is engineered to deliver unmatched reliability and power.
Enhanced Performance and Durability
- Robust Construction: Made with Aramid Fiber cord and a High Modulus Rubber Compound (BZX1) for superior strength and longevity.
- Vehicle Compatibility: Designed for Can-Am X3, Defender, Maverick, and Commander models.
- Customer Satisfaction: Boasts a 4.7-star rating from numerous users.
Why Choose GBoost?
- Optimized Power Transfer: The toothed/timing belt style ensures efficient and reliable power delivery.
- Peace of Mind: Backed by Amazon’s 30-day return guarantee, ensuring satisfaction.
- Top Ranking: Highly ranked in the Automotive and Powersports Drive Belts categories, reflecting its quality and popularity.
SuperATV Worlds Best Drive Belt
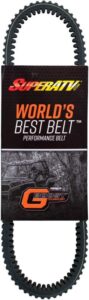
SuperATV Heavy-Duty World’s Best CVT Drive Belt
- Unbeatable Belt for Your UTV
- Made with an aramid fiber cord
- Built for high performance
$189.95 at time of publishing
These SuperATV Can-Am X3 Drive Belts are a good quality belt choice for your X3. This bad boy is built to withstand extreme abuse, excessive shock load, and high temperatures. It’s made for the real daredevils out there, the ones who like to push their Can-Am X3 XP 1000 to the limit.
This belt is ultra-strong. It’s made with an Aramid fiber cord that can handle more than 10,000 pounds of tension without breaking or stretching. That’s right, this thing is tough as nails. You can put it through the wringer and it’ll come out the other side without a scratch.
But what really sets this drive belt apart from the rest is its 100% fit guarantee. SuperATV is a family-owned business that takes product quality seriously. They field-test their products on over 600 acres of prime riding land to ensure you have the best quality UTV accessories. So you can rest easy knowing that this drive belt will fit your machine perfectly.
So, if you’re the kind of person who likes to live life on the edge, who likes to push the limits of what’s possible, then this drive belt is for you. It’s the real deal, built to withstand high temps and extreme abuse. So go ahead, have big tires, gear reduction, or a clutch kit. This belt was made for you.
Key Features
- Material: Aramid fiber cord and high-strength rubber
- Compatibility: UTVs, specifically 2017-2020+ Can-Am Maverick X3 models
- Warranty: 3-month warranty against manufacturing defects
- Return Policy: Amazon.com’s 30-day return guarantee
- Origin: Made in the USA
Additional Information
The belt is black, weighs 2 pounds, and is a CVT style belt. SuperATV offers a warranty against manufacturing defects on parts like heim joints, tie rod ends, ball joints, seal kits, drive belts, wheel bearings, brake lines, bushings, and brake pads.
Can-Am X3 OEM Belts
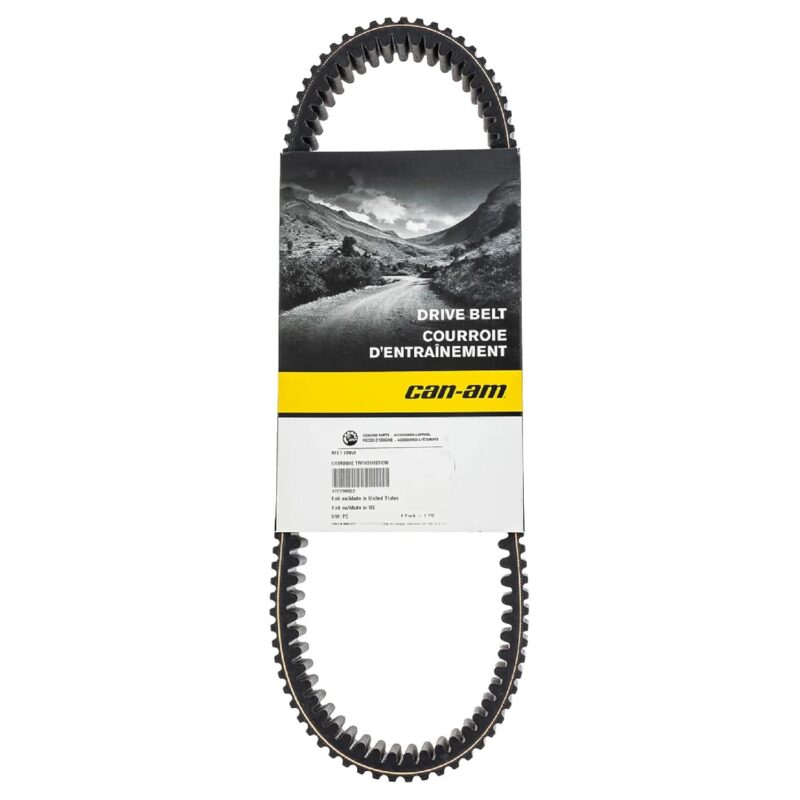
Can-Am OEM 100% PBO Performance Drive Belt
- High-performance and unique belt technology
- 100% cutting-edge PBO high-tensile strength polymer fiber construction
- Designed for high-temperature robustness and prolonged durability
We recommend using the OEM belts. How can you go wrong with a Can-Am OEM Belt? They offer easy installation and lasting power. These babies are the real deal, built for all terrains and tested to the max by the folks over at Can-Am.
These OEM parts are designed to run cooler and at optimal RPMs, ensuring maximum performance and durability out on the road. They’ve been put through 20,000 miles of field testing and over 18 months of development, so you know they’re the real deal.
They can handle anything you throw at ’em – mud, dirt, trails, sand, rocks, you name it. And they’re sturdy and reliable, built to last under the power of the X3. They’re engineered to run at the optimal RPM and deliver unmatched performance for your off-road vehicle.
And the best part? These belts are easy to install, with just three easy steps. You don’t need to be a rocket scientist to get these babies on your ride. Just use a clutch removal tool, remove the old belt, and replace it with the new one. Boom, you’re good to go.
Now, I know what you’re thinking – what about compatibility? Well, Can-Am has got you covered. OEM belts are made to just fit and take the hassle out of figuring out if you have the right belt.
Now, I know what you’re thinking. You read that one review, didn’t you? Where some poor sap buys the belt, installs it, drives two miles, and burns the belt. But let me tell you, that’s just a fluke. That’s why it’s important to buy from a seller who’s got your back. And with this belt, you’re covered. So, let me sum it up for you. You want a drive belt that fits like a glove on a whole lot of X3? You want a belt that won’t let you down and a seller who’s got your back? You want this belt and you want it now.
Evolution Powersports EVO Worlds Best Bad Ass Drive Belt Can-Am Maverick X3
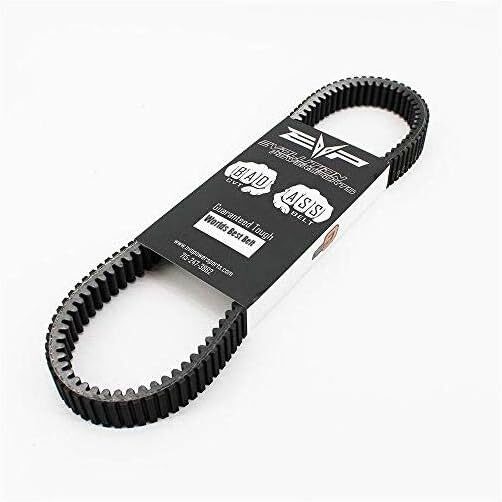
Evolution Powersports EVO Worlds Best Bad Ass Drive
- Highest shock load rating to date being able to withstand the power of the 400hp machines
- Latest bottom cog design for greater rotational efficiency at full shift
- Aramid Fiber cord, versus polyester, wraps over bottom cogs for increased bottom cog strength
Looking to boost your Can-Am Maverick X3’s performance? Evolution Powersports offers two high-quality drive belts designed to enhance your ride. The Alpha Drive Belt promises top-tier durability and performance, while the Extreme (EX) Drive Belt provides excellent value. Both belts are compatible with 2017+ Can-Am X3 models, ensuring a perfect fit and improved power transfer.
Upgrade your UTV with Evolution Powersports drive belts and experience the difference. With positive customer reviews and a reputation for quality, these belts are a smart investment for any Can-Am X3 owner. Plus, with Amazon’s 30-day return guarantee, you can purchase with confidence, knowing you’re getting a product that delivers on its promises.
Key Details
Features and Specs:
- Compatibility: Both belts fit 2017+ Can-Am X3 models.
- Material: Aramid
- Dimensions: 15″L x 1″W
- Style: Belt Drive
- Color: Black
- Customer Reviews: The Alpha Drive Belt has a rating of 4.6 out of 5 stars based on 357 ratings.
In conclusion, belt failure is a common issue among Can-Am X3 owners, but there are steps you can take to extend your belt’s life. Keep your clutch system in good working order, make sure the belt stays cool and well-ventilated, and consider upgrading to a higher-quality belt if necessary. With a little care and attention, you can keep your X3 running smoothly for years to come.
Related Questions About Can-Am X3 Drive Belts
Can I Replace a Can-Am Drive Belt Myself?
Yes, you can it ain’t rocket surgery. You can swap out a Can-Am drive belt yourself. No need to fork over your hard-earned cash to a mechanic. Just grab your tools and get to work.
How Do I Know My Can-Am Maverick CVT Belt Is Worn?
One of the most common injuries that X3 riders face is a worn-out drive belt. You check for glassy sides of the belts. Also, sluggish acceleration or jumping suddenly can be a sign of a worn belt
How Long do Can-Am X3 drive belts last?
When it comes to the Can-Am Maverick X3, one question that always seems to be on people’s minds is just how long that drive belt can hold out. Will it last you for hundreds of miles of trail riding, or is it more likely to give out on you just when you’re starting to hit your stride?
Why do X3 belts break?
X3 belt breakage can be attributed to several reasons, including overloading, harsh riding conditions, poor maintenance, or manufacturing defects. Overloading the vehicle or carrying excessive weight can strain the belt, causing it to fail. Similarly, riding in harsh conditions like extreme heat or dust can accelerate belt wear and reduce its lifespan. Lack of maintenance, such as not keeping the belt clean or ignoring signs of wear, can also lead to belt breakage. In rare cases, manufacturing defects may cause premature belt failure.
What does a failing drive belt sound like?
X3 belt breakage is a problem that can have several culprits. It could be due to overloading the vehicle with too much weight or putting it through the wringer in harsh riding conditions. Riding in extreme heat or thick clouds of dust can speed up the wear and tear on the belt, causing it to fail sooner. Neglecting to keep the belt clean or ignoring warning signs of wear and tear can also lead to breakage. And, in some rare instances, defects in the manufacturing process may cause the belt to fail before its time.
How do you break in a new X3 belt?
If you want to keep that X3 of yours runnin’ smooth and strong, you gotta give that belt the break-in it deserves. Don’t go slammin’ down the pedal and expect everything to work like a charm. No, sir. Take it easy for the first 5 to 10 miles, keep it in low gear if you got it, and vary them speeds. If you ain’t got low gear, take it moderate for 50 miles. And don’t forget, it ain’t just about the miles. Keep them engine RPMs low and steady, and you’ll be good to go.
Why do my belts keep ripping?
Why do my Can-Am drive belts keep ripping? Well, it could be due to overloading the vehicle or carrying too much weight, harsh riding conditions such as extreme heat or dust, poor maintenance, or even manufacturing defects. Take good care of your belt and avoid straining it, and you’ll have fewer problems.
How much does it cost to get a drive belt replaced?
If you’re handy enough, you can replace your X3 drive belt for less than two hundred bucks. Just grab a new belt for around 150 and some tools, if you don’t already have some, for 30 bucks, and you’re good to go.
Should you wash a Can-Am CVT belt?
Washing a new drive belt before installation is a hotly debated topic. But if you insist on giving it a bath, use warm, soapy water and let it air dry before you slap it on.
Are Can-Am X3 belts directional?
New belts don’t give a damn about direction, but used ones sure do. Directional arrows on some belts are just a reminder to put it back on the same way if you ever take it off. To prolong your belt’s life, it’s wise to always run it in the same direction.
Can you drive with a worn Can-Am drive belt?
Can you drive with a worn Can-Am drive belt? Well, you can, but it’s like walking around with a ticking time bomb in your pocket. You never know when it’s going to go off and leave you stranded in the middle of nowhere. So, if you value your time and sanity, it’s best to replace that worn belt before it’s too late.
What happens if you don’t change your Can-Am drive belt?
Well, friend, if you don’t change your Can-Am drive belt, you’ll eventually find yourself stranded in the middle of nowhere with a busted belt and a sour mood. A worn-out belt can break unexpectedly, leaving you high and dry on the trail or in the field. Not to mention, a damaged belt can cause other issues with your vehicle’s performance, leading to costly repairs down the road. So, don’t be a fool – keep that drive belt fresh and enjoy your ride without any unnecessary headaches.
Will a broken Can-Am drive belt destroy my engine?
No, it won’t destroy your engine. The rev limiter will kick in and you may get a light on your dash. Just shut her down and clean out the old drive belt and replace it with a new belt. Disconnect the battery to clear the dash light then reconnect it and get on with your day.
Can you spray wd40 on X3 belt?
Don’t do that WD40 is a lubricant and your UTVs drive belt works with friction applied to the belt. A lubricant reduces friction and would defeat the purpose of the belt.